Contents
- Step 1: Prepare your tools and safety equipment
- Step 2: Remove glazing beads on the bottom and side of your door
- Step 3: Carefully remove the broken glass from the door frame
- Step 4: Clean the door frame and apply new glazing compound
- Step 5: Install the new glass into the door frame
- Step 6: Replace the Glazing Beads on the Bottom and Side of Your Door
- “
Contents
- Step 1: Prepare your tools and safety equipment
- Step 2: Remove glazing beads on the bottom and side of your door
- Step 3: Carefully remove the broken glass from the door frame
- Step 4: Clean the door frame and apply new glazing compound
- Step 5: Install the new glass into the door frame
- Step 6: Replace the Glazing Beads on the Bottom and Side of Your Door

Replacing broken glass in a patio door may seem like a daunting task, but with the right method and a little patience, you can easily fix it yourself. Broken glass not only affects the functionality of your patio door, but it also influences the overall appearance of your house. Don’t worry, though! This step-by-step guide will take you through the process of replacing the broken glass in your patio door.
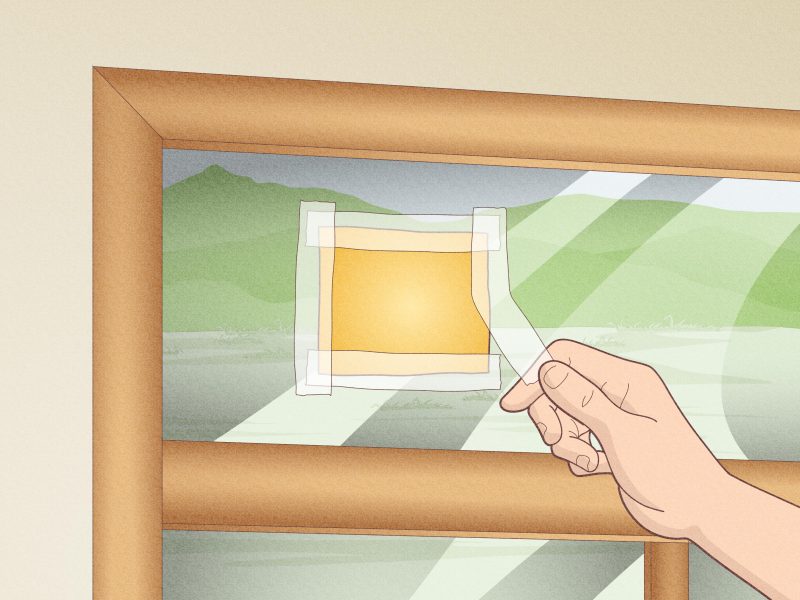
The first thing you need to do is measure the size of the broken glass panel. This will help you determine the exact dimensions of the replacement glass you’ll need. Remember to measure both the height and width of the glass panel, as it is important to get precise measurements to ensure a proper fit. You can consult the manual of your patio door for information on how to measure the glass panel.
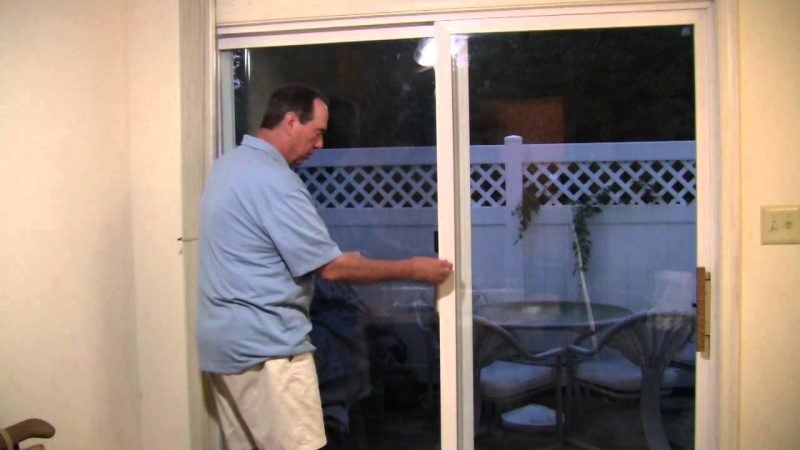
Once you have the measurements, it’s time to remove the broken glass. Start by taking the door off its hinges or removing the fixed panel from the frame. This will give you better access to the broken glass. Be careful while removing the glass, as it may be sharp and could cause injury. It’s a good idea to wear protective gloves during this process.
After removing the broken glass, inspect the opening for any damage. Check the frame and the mechanism that holds the glass in place. If there is any sign of moisture or damage, it’s best to fix them before replacing the glass. Making sure the frame is in good condition will ensure that the replacement glass fits properly and prevents any future failure.
Now that you have removed the broken glass and inspected the opening, it’s time to replace it with a new one. You can purchase replacement glass from your local hardware store or consult a professional if you’re unsure of the size or type of glass you need. Prices for replacement glass may vary depending on the size and type of glass, but it’s generally affordable.
Before fitting the new glass, make sure to clean the opening and remove any debris or old adhesive. Apply a thin layer of adhesive around the edges of the opening and carefully place the new glass panel. Press it firmly against the adhesive and let it dry for the recommended amount of time. Check the instruction manual of the adhesive for specific drying times.
Once the adhesive is dry, you can reattach the door or fixed panel to the frame. Make sure it is aligned properly and fits snugly. Test the door by opening and closing it to ensure smooth operation. Congratulations! You have successfully replaced the broken glass in your patio door.
Replacing broken glass in a patio door doesn’t have to be a difficult or costly task. By following these step-by-step instructions, you can save yourself a lot of money and time. Plus, the benefits of having a fully functional and aesthetically pleasing patio door are well worth the effort. So don’t hesitate to take on the challenge, and enjoy the light, view, and fresh air that your patio door brings into your home.
Step 1: Prepare your tools and safety equipment
Before you dive into the process of replacing broken glass in a patio door, it’s important to gather all the necessary tools and safety equipment. This will ensure that you have everything you need and can complete the task efficiently and safely.
Here’s a checklist of the tools and safety equipment you’ll need:
- Hammer
- Screwdriver
- Gloves
- Protective eyewear
- Dust mask
- Putty knife
- Glass cleaner
- Replacement glass (make sure to measure the dimensions of the broken glass for an accurate replacement)
It’s also important to inspect the frame of the patio door before you start. Look out for any issues such as rotting wood or damaged trim. If you notice any problems, you may need to address them before moving forward with the glass replacement.
Another important tip is to check if the glass is held in place by glazing beads. These are small strips of wood or vinyl that hold the glass in the frame. If you see glazing beads, you’ll need to remove them in order to access the broken glass.
Lastly, be aware of the difficulty level of the task. Replacing glass in a patio door can be a challenging job, especially if you don’t have much experience with this type of repair. If you’re unsure about anything or if the job seems too complicated, it may be best to hire a professional to do the job for you.
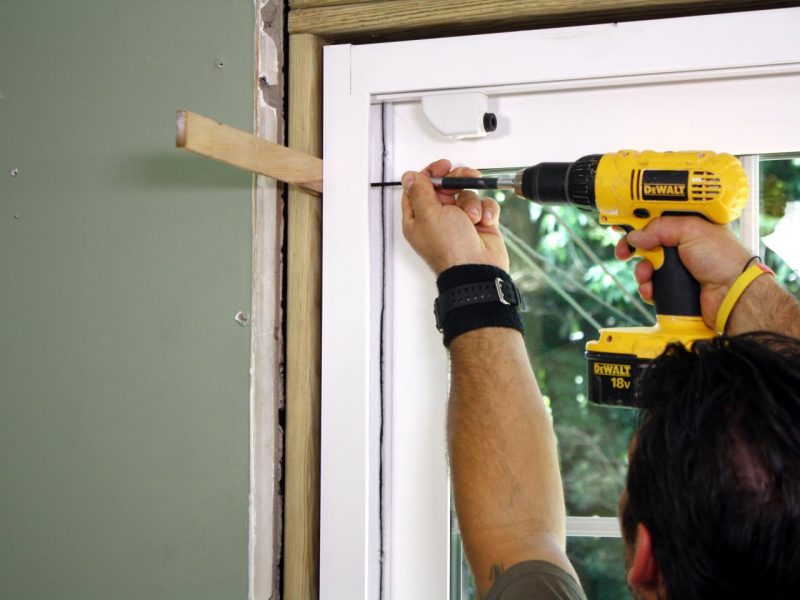
Step 2: Remove glazing beads on the bottom and side of your door
Before you can begin replacing the broken glass in your patio door, you’ll need to remove the glazing beads that hold the glass in place. These beads are typically made of vinyl and can be found on the bottom and sides of the door.
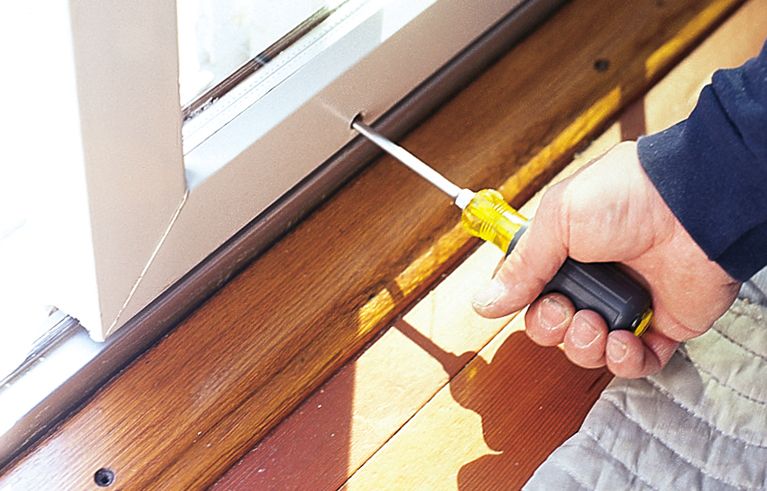
To remove the glazing beads, consult your door’s manual for specific instructions. In some cases, you may need to use a putty knife or a small flathead screwdriver to gently pry the beads away from the door frame. Be sure to inspect the beads for any signs of damage or wear and tear before removing them.
Removing the glazing beads can be a bit tricky, so it’s important to take your time and be careful not to damage the surrounding door frame or the glass itself. If you’re unsure about how to remove the beads, it’s always best to consult a professional for assistance.
Once the glazing beads are removed, you’ll be able to access the broken glass and begin the process of replacing it. In the next step, we’ll go over how to safely remove the glass from the door.
Step 3: Carefully remove the broken glass from the door frame
Before you begin removing the broken glass, it’s important to take some necessary precautions. Broken glass can be sharp and dangerous, so make sure you wear thick gloves and protective eyewear to reduce the risk of injury.
Start by removing any remaining sash beads or glazing from around the broken glass pane. These are the small wooden or metal strips that hold the glass in place. Use a putty knife or a small chisel to carefully pry them off. If the sash beads are old and brittle, they might break easily, so be gentle.
Once the beads are removed, you can then proceed to remove the broken glass itself. Hold the glass from the bottom edge and carefully lift it out of the door frame. If the glass is broken into larger pieces, you may need to take them out one by one.
Be cautious while handling the broken glass to avoid any mishaps. If the glass is broken into small shards, it may be more difficult to remove without getting cut, so take your time and proceed with caution. Make sure to dispose of the broken glass properly and safely.
It’s important to note that the required steps for removing the broken glass will vary based on the type of patio door you have. Consult the manufacturer’s instructions or seek professional advice if you are unsure about the process specific to your door type.
Remember, safety should always be your top priority. Taking the time to carefully remove the broken glass will save you from the potential hazards involved and ensure a smooth and successful installation of the new glass panel.
Step 4: Clean the door frame and apply new glazing compound
After removing the broken glass, it’s important to clean the door frame thoroughly before proceeding with the replacement. Use a mild detergent and water solution to clean the frame, making sure to remove any dirt, dust, or debris. Allow the frame to dry completely before moving on to the next step.
Once the frame is clean and dry, it’s time to apply new glazing compound. This compound helps to hold the glass in place and provides a seal to prevent any air or water leakage. It’s important to choose a glazing compound that is appropriate for your specific door and glass type.
Start by removing any old glazing compound or putty from the door frame. You can use a putty knife or a scraper to gently remove the old compound. Be careful not to damage the frame or surrounding areas while doing this.
Next, prepare the new glazing compound according to the manufacturer’s instructions. Typically, this involves mixing the compound and allowing it to sit for a specific amount of time. Follow the instructions closely to ensure proper application.
Apply the glazing compound to the door frame using a putty knife or a glazing tool. Start at one corner and apply a thin layer of compound along the edge of the frame. Make sure to press the compound firmly into place, ensuring good adhesion.
Continue applying the glazing compound along each edge of the door frame, making sure to fill any gaps or depressions. Smooth out the compound using the putty knife or glazing tool to create a clean and even finish.
Once the new glazing compound is in place, allow it to dry according to the manufacturer’s instructions. This can vary depending on the product used, so be sure to consult the packaging for specific drying times.
After the compound is fully dry, you can proceed with installing the new glass pane into the door frame. Follow the manufacturer’s instructions for this step, as it may vary depending on the type of glass and door you have.
By properly cleaning and applying new glazing compound, you can ensure a secure and watertight seal for your patio door. This step is crucial for maintaining the efficiency and functionality of your door, as well as preventing any further damage or issues.
Step 5: Install the new glass into the door frame
After removing the broken glass, it’s time to install the new one. Before you start, make sure to measure the size of the opening to ensure you get the correct replacement glass. The prices and sizes of replacement glass can vary, so check with your local suppliers for the best options.
Here are some tips to help you with the installation process:
- Start by placing the new glass into the bottom of the door frame, making sure it fits properly.
- Use small nails or clips to hold the glass in place temporarily.
- If the glass is too big, you can trim it down to size using a glass cutter.
- Next, take the glazing beads and slide them into the opening. These beads will hold the glass in place.
- Make sure the beads are snug and secure, but not too tight to avoid cracking the glass.
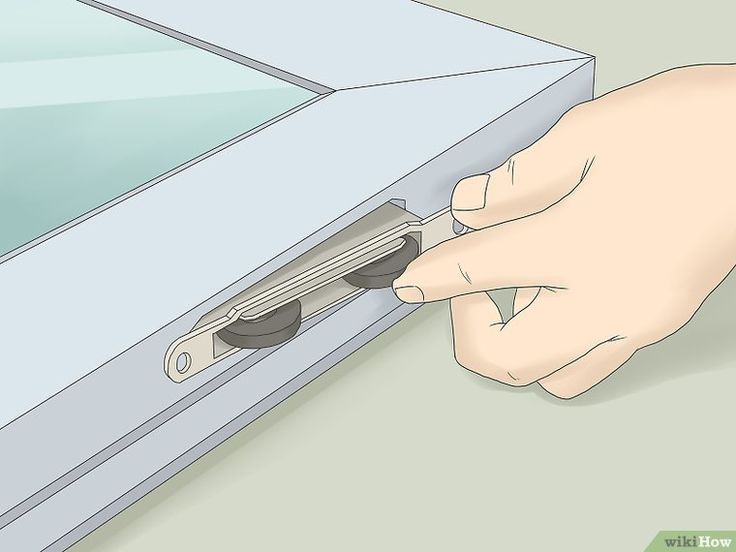
- If your patio door has a sliding sash, make sure the glass is installed in the correct position for smooth operation.
- Check that the glass is level and centered within the frame.
- If necessary, use a putty knife to remove any excess putty or adhesive.
Once you’ve completed these steps, the new glass should be securely installed in your patio door. It’s important to note that if you’re unsure about any part of the installation process, it’s always best to consult a professional. They will have the knowledge and experience to handle any potential issues and ensure the job is done correctly.
Replacing broken glass in a patio door can save you time and money compared to replacing the whole door. The costs for glass replacement can vary depending on the size, type of glass, and complexity of the door. However, it’s usually a more cost-effective and efficient solution than replacing the entire door.
In addition to cost savings, replacing the glass in your patio door can also improve energy efficiency and enhance the overall appearance of your home. It’s a simple DIY project that can be completed within a few hours, and the benefits are well worth the effort.
Step 6: Replace the Glazing Beads on the Bottom and Side of Your Door
After successfully removing the broken glass from your patio door, it’s time to replace the glazing beads. These small strips of trim play a crucial role in holding the glass securely in place. Here’s how you can replace them:
- Inspect the glazing beads: Carefully examine the glazing beads that were previously on your door. Check for any signs of damage or wear and tear. If they are in good condition, you can reuse them. Otherwise, consider purchasing new glazing beads that match the style and color of your door.
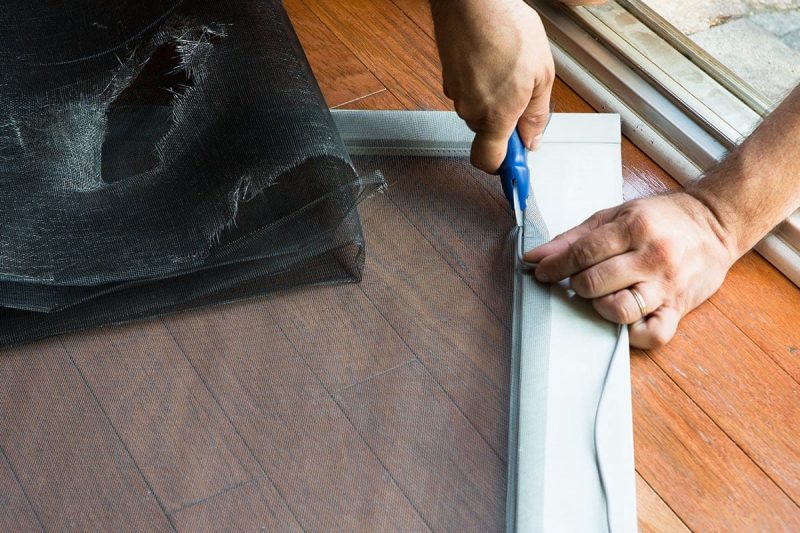
- Measure and cut the new glazing beads: Use a measuring tape to determine the length and width of the glass opening on the bottom and sides of your door. Transfer these measurements to the new glazing beads and use a saw or a utility knife to cut them to the appropriate size.
- Fit the glazing beads: Start by installing the bottom glazing bead. Apply a small amount of glazing compound or silicone sealant to the back of the bead to help it adhere to the door. Gently press it into place and ensure that it fits snugly against the glass. Repeat this process for the side glazing beads.
- Secure the glazing beads: Use a hammer and small nails to secure the glazing beads in place. Make sure the nails are long enough to penetrate through the bead and into the door frame without going all the way through the frame. Space the nails approximately 6 inches apart.
By replacing the glazing beads, you not only ensure the stability of the glass in your patio door, but also improve its overall appearance. The replacement process is relatively simple and can be done by following these steps. However, if you’re unsure or uncomfortable performing this task, it’s always best to consult a professional for assistance.
“
Can I replace the glass in my patio door myself?
Yes, it is possible to replace the glass in a patio door yourself. However, it can be a complex task and requires some experience with home improvement projects. If you are not confident in your ability to do it correctly, it is best to hire a professional.
What tools do I need to replace the glass in a patio door?
To replace the glass in a patio door, you will need several tools, including a screwdriver, needle-nose pliers, putty knife, glass cutter, glazing points, and a caulk gun. You may also need a hammer and a pry bar, depending on the type of door you have.
How long does it take to replace the glass in a patio door?
The time it takes to replace the glass in a patio door can vary depending on the size and complexity of the door, as well as your level of experience. On average, it can take anywhere from 2 to 6 hours to complete the job.
What factors influence the pricing for glass replacement in a patio door?
Several factors can influence the pricing for glass replacement in a patio door. These include the size of the glass, the type of glass, the complexity of the door design, and the location of the door. Additionally, the cost may also be affected by any additional repairs or replacements that need to be made, such as replacing the frame or hardware.
Can I use any type of glass to replace the broken glass in my patio door?
No, it is not recommended to use just any type of glass to replace the broken glass in a patio door. It is important to use safety glass or tempered glass, which is specifically designed to withstand the pressure and impact that can occur in a patio door. Using the wrong type of glass can result in a safety hazard and may not provide the necessary insulation or security.

 Enhance Your Home’s Appeal and Functionality with Sliding Glass Balconies
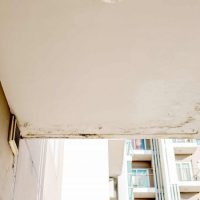 Complete Step-by-Step DIY Guide for Repairing a Leaking Balcony
 A Few Common Reasons Why Balconies Leak – Tips for Balcony Waterproofing